Introduction
LabeLase® Producer has the ability to monitor a folder for the appearance of a file. Called the File Transfer method, it allows Producer to automatically receive data to be printed on one or more tags. Producer supports several "protocols" for data transfer, including one called Programmable that allows you to easily read comma or tab delimited files (CSV). Unfortunately Producer has never been able to directly read an Excel spreadsheet file as part of the file transfer process. With the release of version 2.2.0 of LabeLase® Producer you can now drop Excel spreadsheet files (XLS, XLSX) into your transfer folder and have Producer pick it up and begin printing.
Configure File Transfer
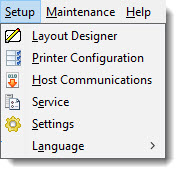
The first thing you need to do to automatically accept Excel spreadsheet files is to configure the File Transfer method. To begin, pull down the Setup menu and select Host Communications. Remember, you will need to be in the supervisor mode to enable the setup menu items.
The host communications setup window allows you to configure how Producer will receive print data from a "host" computer (basically an old-fashioned term for describing your company's production system.)
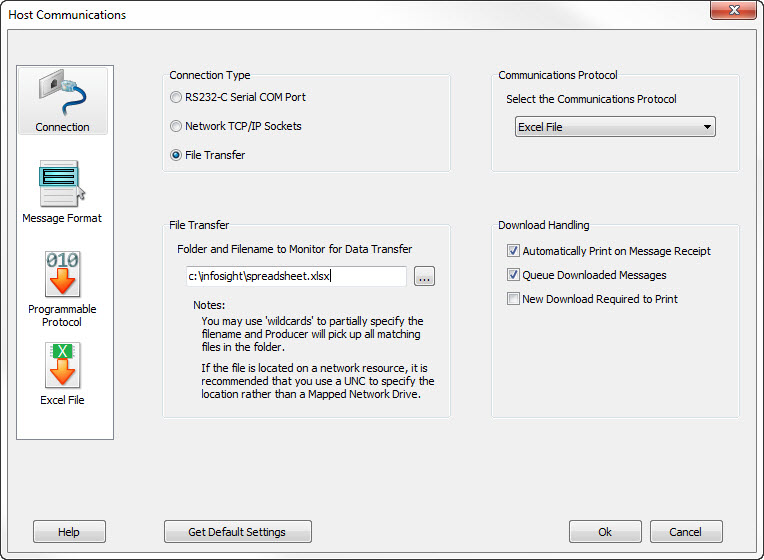
This form is divided into several sections. In the Connection Type group select the File Transfer option. This configures Producer to accept the data "download" from a file that will be written to a known folder location.
Below the Connection Type group is a group called File Transfer. Enter the full path location and the name of your spreadsheet file. The folder part of the path is where you will write or copy the spreadsheet file. This folder must be accessible to Producer and Producer must have full read / write / delete privileges. It's a good idea to locate this folder on the same computer that's running Producer and then share the folder on the network so that your automation system can write the file. The filename part of the path can be an explicit name like "spreadsheet.xlsx" shown in the graphic above, or it can be a wildcard such as "*.xlsx", which will match any file with the .xlsx extension. Producer supports both the older style XLS files as well as the new XLSX format.
In the upper right corner of the window is a group called Communications Protocol. This field defines the format of the data being "downloaded". Although an Excel file is not really a Protocol, so much as it's a file format, we use the Protocol field to select "Excel File" as shown above.
Once these settings are in place, perhaps including the other Download Handling settings, you must click on the category to the left of the form labeled Excel File. This will enable you to enter the settings that are specific to the Excel file transfer.
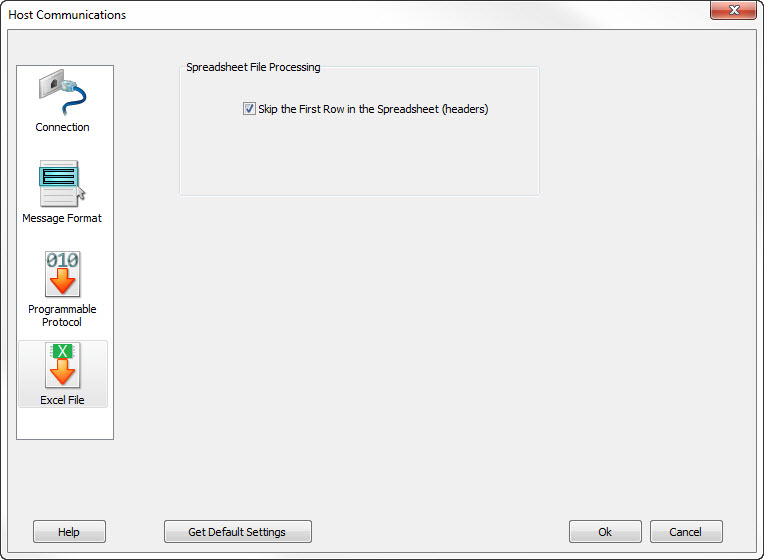
Currently, the only setting you need to make is for skipping the first row of the spreadsheet. In many spreadsheet designs it's common to have the very first row contain the column headings. When you print tags from your spreadsheet you probably don't want to print an extra tag that contains these column headings. To prevent this from happening, simply check the box telling Producer to skip the first row. Obviously, if your particular spreadsheet doesn't have column headings and you want to print the first row, then leave this box unchecked.
Now that you have the Excel specific settings in place, you only have to configure the Message Format settings. Click on the image to the left that says Message Format to access these settings as shown below.
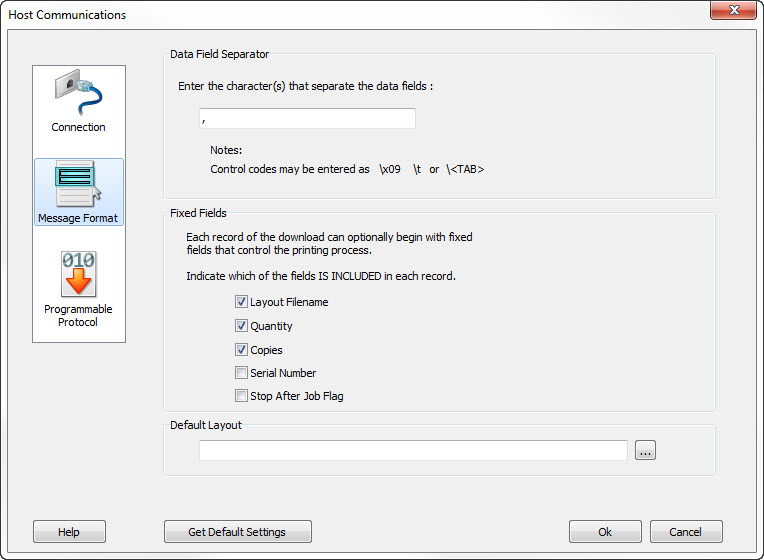
The first field, Data Field Separator, is normally used by other protocols to tell Producer how the fields are separated. In an Excel file that doesn't sound like it would apply but Producer still uses a separator character when it processes the file internally. You can enter a comma character here if you like, as seen above, or some other character. We recommend using a tab character (enter \t for the separator) because your data might contain commas.
The next group, Fixed Fields, contains settings that define how the first few columns of your spreadsheet are configured. Notice that in the above example, the boxes are checked for Layout Filename, Quantity and Copies. With these boxes checked your spreadsheet MUST be designed so that column A contains the full path and name of the layout file you want to print, and every row in the spreadsheet must contain this layout file name. Column B must contain a number indicating the quantity of tags to print and column C must contain the number of exact duplicate copies of each tag to print. Columns D and up will contain the data fields that will be applied to your tag layout.
If you don't need to specify the layout filename for each row in the spreadsheet (perhaps you only have one layout in your application) then uncheck the box for Layout Filename and then add the full path and file name to the "Default Layout' field toward the bottom of the window.
If you only want to print one tag for each row of the spreadsheet, then you won't need to have the columns for Quantity and Copies. Leave these out of the spreadsheet and uncheck the associated boxes. Producer will print only one tag for each row.
If you leave all of these boxes unchecked, then your spreadsheet will begin with the actual layout data in column A, it will load the default layout and print only one tag per row.
When all of your settings are correct, click the OK button to save your changes.
Testing
To test your new configuration, simply create a new spreadsheet with a format that matches the settings you have configured. Save the spreadsheet to a file with a name that matches the transfer file name specification in your settings. It's probably a good idea to save the file initially to a different folder than the transfer folder. Remember, when Producer picks up and reads the spreadsheet file it is going to delete the file. If the file is still open in Excel, the Producer won't be able to delete it due to the way Excel holds open the files you are editing. This will probably cause an error in Producer. Once you have saved the file, close Excel and then manually copy the file to the transfer folder. At that time, you will see the file disappear from the folder and new job records will be added to Producer's job queue. If you also configured Producer to start printing on message receipt, your tags will begin to print immediately.
Conclusion
This concludes our tutorial on configuring Producer to automatically print Excel spreadsheet files using the File Transfer method of host communications. If you have any questions about this process or need assistance setting it up, contact our technical support team at +1-740-642-3600.
LabeLase is a registered trademark of InfoSight Corporation
Excel is a registered trademark of Microsoft